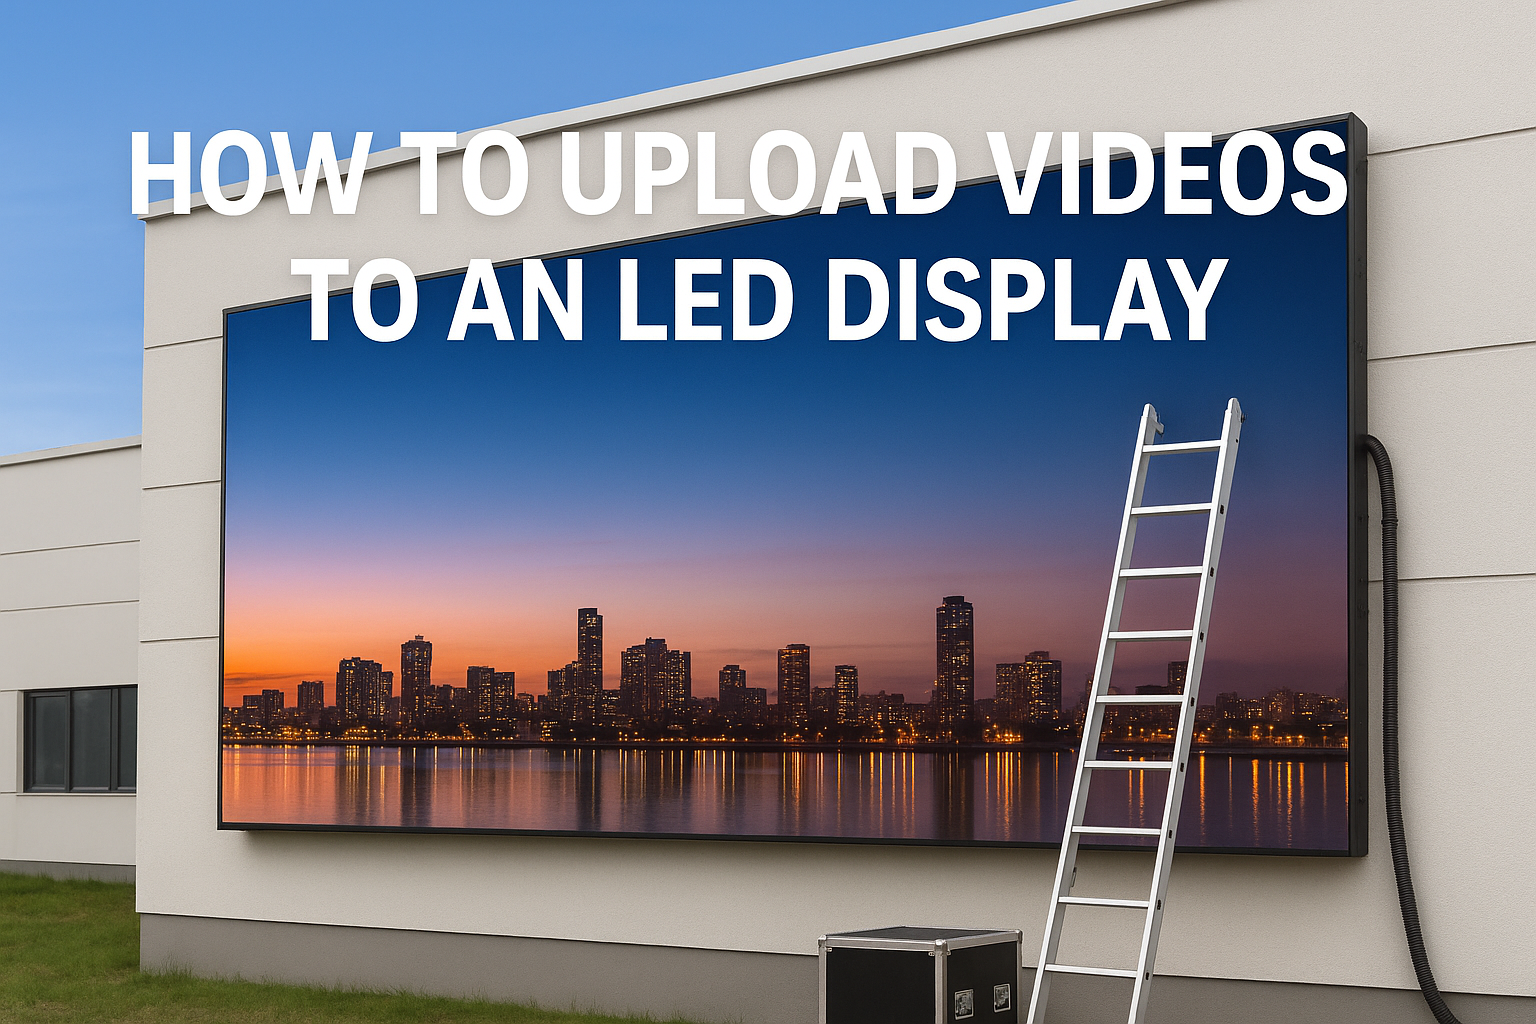
LED 디스플레이에 비디오를 업로드하는 것은 초보자에게는 복잡해 보일 수 있습니다., 특히 다음과 같은 전문 제어 시스템을 사용할 때 노바스타 또는 LED 스튜디오.
이 단계별 가이드는 고정 설치든 임대 LED 디스플레이든 LED 스크린에 비디오나 이미지를 쉽게 업로드하는 데 도움이 됩니다..
1. 업로드하기 전에 필요한 것
콘텐츠를 성공적으로 업로드하려면, 당신이 가지고 있는지 확인하십시오:
-
일하는 LED 디스플레이
-
주도의 보내는 카드 (노바스타 MSD 시리즈 / MCTRL / VX 시리즈, 등.)
-
주도의 카드 받기 화면에 이미 설치되어 있음
-
A 제어 컴퓨터
-
비디오 또는 이미지 파일 (MP4, AVI, JPG, PNG, 등.)
-
다음 소프트웨어 중 하나:
✔ 노바스타 노바LCT + 바이플렉스
✔ LED 스튜디오 (린스시스템)
2. Novastar를 사용하여 비디오를 업로드하는 방법 (노바LCT + 바이플렉스)
Novastar는 가장 널리 사용되는 LED 제어 시스템입니다..
다음은 비디오 콘텐츠를 업로드하는 단계입니다..
단계 1: 컴퓨터를 LED 디스플레이에 연결
다음을 통해 연결할 수 있습니다.:
-
이더넷 케이블
-
USB (VX4S와 같은 일부 올인원 컨트롤러의 경우 / VX6S / VX1000)
-
Wi-Fi (TB1/TC100/JC 시리즈와 같은 멀티미디어 플레이어 전송 박스용)
컴퓨터가 전송 카드를 감지할 수 있는지 확인하세요..
단계 2: NovaLCT 소프트웨어 열기
-
시작하다 노바LCT
-
이동 사용자 로그인 → 선택 고급 사용자
-
비밀번호: 888 (기본)
단계 3: 화면 구성 확인
-
이동 화면 구성
-
너비가 올바른지 확인하세요. & 키 (e.g., 1376 × 516)
-
송신카드와 수신카드가 연결되어 있는지 확인
화면이 정상적으로 표시되는 경우, 계속 진행하시면 됩니다.
단계 4: ViPlex를 사용하여 비디오 업로드 (또는 바이플렉스 익스프레스)
컨트롤러에 멀티미디어 플레이어가 포함된 경우 (결핵, 테네시, 아니면 올인원), ViPlex를 사용하세요.
-
열려 있는 바이플렉스 익스프레스
-
소프트웨어가 자동으로 전송 상자를 감지합니다.
-
딸깍 하는 소리 재생목록
-
동영상 업로드 (MP4 권장)
-
플레이 모드 설정:
-
고리
-
종횡비 유지 / 전체 화면
-
-
딸깍 하는 소리 게시
이제 비디오가 LED 디스플레이에서 재생됩니다..
3. LED Studio를 사용하여 비디오를 업로드하는 방법 (린스시스템)
LED 스튜디오는 일반적으로 다음과 같이 사용됩니다. Linsn 센딩카드 (TS801, TS802, 등.)
단계 1: LED 스크린 연결
네트워크 케이블을 사용하여 연결:
PC → 카드 보내기 → 카드 받기 → LED 화면
단계 2: 오픈 LED 스튜디오
-
시작하다 LED 스튜디오
-
입력하다 화면 설정
-
구성:
-
화면 너비 & 키
-
스캔 모드
-
명도
-
재생률
-
이미 가지고 있는 경우 .RCG 그리고 .범죄자 공장에서 파일, 직접 가져오세요.
단계 3: 비디오 소스 추가
-
딸깍 하는 소리 프로그램 추가
-
추가하다 비디오 창
-
비디오 파일을 선택하세요 (MP4, AVI, MOV…)
-
LED 화면에 맞게 창 크기 조정
단계 4: 비디오 재생
-
딸깍 하는 소리 플레이 프로그램
-
비디오는 LED 디스플레이에 표시됩니다
-
일정을 잡을 수 있습니다:
-
루프 재생
-
고정시간 재생
-
여러 재생목록
-
4. 권장 비디오 형식 설정
원활한 재생을 보장하려면:
| 환경 | 추천 |
|---|---|
| 체재 | MP4 |
| 해결 | LED 스크린과 동일 (e.g., 1376×516) |
| 프레임 속도 | 25-30fps |
| 비트레이트 | 6-10Mbps |
| 정위 | 풍경 |
영상이 화면 크기와 맞지 않는 경우, 비디오 변환기를 사용하여 변환하십시오..
5. 문제 해결 (일반적인 문제)
① 화면이 검게 표시됩니다.
-
네트워크 케이블을 확인하세요
-
송신카드 전원 확인
-
컨트롤러 재부팅
② 영상이 늘어납니다
-
"종횡비 유지" 변경
-
올바른 해상도로 비디오 업로드
③ 콘텐츠를 전송할 수 없습니다
-
잘못된 제어 카드
-
PC 네트워크가 연결되지 않았습니다
-
잘못된 화면 크기 설정
④ 블록 / 꺼질 것 같은
-
이더넷 케이블 교체
-
수신카드 매핑 확인
-
과전류인 경우 밝기 감소
6. Novastar 또는 LED Studio 설정에 대한 도움이 필요합니다.?
원격 지원이 필요한 경우, 구성 파일, 또는 비디오 튜토리얼, 우리는 완전한 지원을 제공할 수 있습니다.
우리는 LED 디스플레이를 제조합니다 13 수년간의 경험:
-
실내/실외 LED 디스플레이
-
렌탈 LED 디스플레이
-
투명한 LED 스크린
-
맞춤형 LED 솔루션
-
Novastar/Linsn 제어 지원
📞 왓츠앱: +8617751932467
🌐 웹사이트: www.huatengtech.com


위챗
WeChat으로 QR 코드를 스캔하십시오